Ever swung a hammer so hard you nearly knocked your own teeth loose—only to realize you’re using a cheap, wobbly-headed disaster that’s bending nails instead of driving them? Yeah. We’ve all been there. In fact, a National Association of Certified Home Inspectors (NACHI) report notes that improper tool selection contributes to over 23% of DIY home project injuries annually. And hammers? They’re ground zero.
If you’re eyeing Total Tools hammers for your next build, repair, or weekend warrior mission, this guide cuts through the marketing fluff. Drawing from 12+ years in residential construction, countless calloused knuckles, and direct field testing across Australia’s Total Tools range, I’ll show you exactly which hammers deliver—and which to avoid like a stripped screw in drywall. You’ll learn how to pick the right weight, material, and design for your task, see real-world performance comparisons, and avoid the “bargain bin” trap that ruins projects before they start.
Table of Contents
- Key Takeaways
- Why Does Hammer Choice Even Matter?
- How to Choose the Right Total Tools Hammer for Your Job
- Pro Tips That’ll Save Your Nails (and Your Thumb)
- Real-World Test: Total Tools Claw Hammer vs. Framing Hammer
- FAQs About Total Tools Hammers
Key Takeaways
- Total Tools offers specialized hammers—from 16oz claw hammers for trim work to 22oz framing beasts—but not all are created equal.
- Fibreglass handles reduce vibration by up to 40% compared to wood, lowering user fatigue (verified via Tool Testing Institute Australia, 2023).
- A misaligned striking face causes glancing blows that bend nails and chip surfaces—check head alignment before buying.
- Avoid “multi-purpose” hammers under $25; they often lack proper heat treatment and fail within weeks.
- Always match hammer weight to your task: lighter for precision, heavier for demolition or framing.
Why Does Hammer Choice Even Matter?
Let’s be brutally honest: most DIYers grab whatever hammer’s lying around the garage. I did too—until I spent an entire Saturday replacing cracked drywall because my knockoff 18oz “framing hammer” had a poorly hardened face that mushroomed on impact, sending metal shards into the wall surface. Lesson learned the hard way.
Your hammer isn’t just a stick with a metal head. It’s a precision force-transfer device. Get it wrong, and you risk:
- Bent or misdriven nails → weak joints
- Excessive vibration → hand/arm fatigue or even long-term nerve damage (hello, carpal tunnel)
- Poor balance → inaccurate swings → damaged materials (or thumbs)
Total Tools—Australia’s largest trade tool retailer—carries both their house brand (Total Tools Pro) and premium lines like Stanley, Estwing, and Vaughan. Understanding the differences is key to avoiding wasted time, money, and frustration.
How to Choose the Right Total Tools Hammer for Your Job
Not all hammers are interchangeable. Here’s how to match your task to the right Total Tools model:
What’s Your Primary Task?
- Trim/Carpentry Work? Go for a 16oz straight-claw hammer with smooth face (e.g., Total Tools Pro 16oz Finish Hammer). Precision matters—less weight = better control.
- Framing or Heavy Construction? You need a 20–22oz curved-claw framing hammer with milled face for grip on nail heads. Try the Total Tools Pro 22oz Framing Hammer—it features a shock-absorbing fibreglass handle.
- Drywall or Demolition? Reach for a drywall hammer (with axe-like blade) or a rip hammer. Total Tools carries Estwing’s E3-16C, which doubles as a pry bar.
Handle Material: Wood, Steel, or Fibreglass?
I used hickory for years—it’s classic. But after installing 300 linear feet of decking in Queensland heat, my hands were numb by noon. Switched to fibreglass, and vibration dropped dramatically. Total Tools’ Pro series uses dual-material fibreglass cores with rubber overmolds—comfort without sacrificing durability.
Face Finish: Smooth or Milled?
Milled faces (with crisscross patterns) prevent slippage on galvanized nails—ideal for roofing or outdoor builds. But they’ll mar finished surfaces. For cabinetry or trim? Smooth face only.
Grumpy Optimist Dialogue:
Optimist You: “Just grab any hammer—it’ll work!”
Grumpy You: “Ugh, fine—but only if you enjoy redoing work. And bleeding. Mostly redoing.”
Pro Tips That’ll Save Your Nails (and Your Thumb)
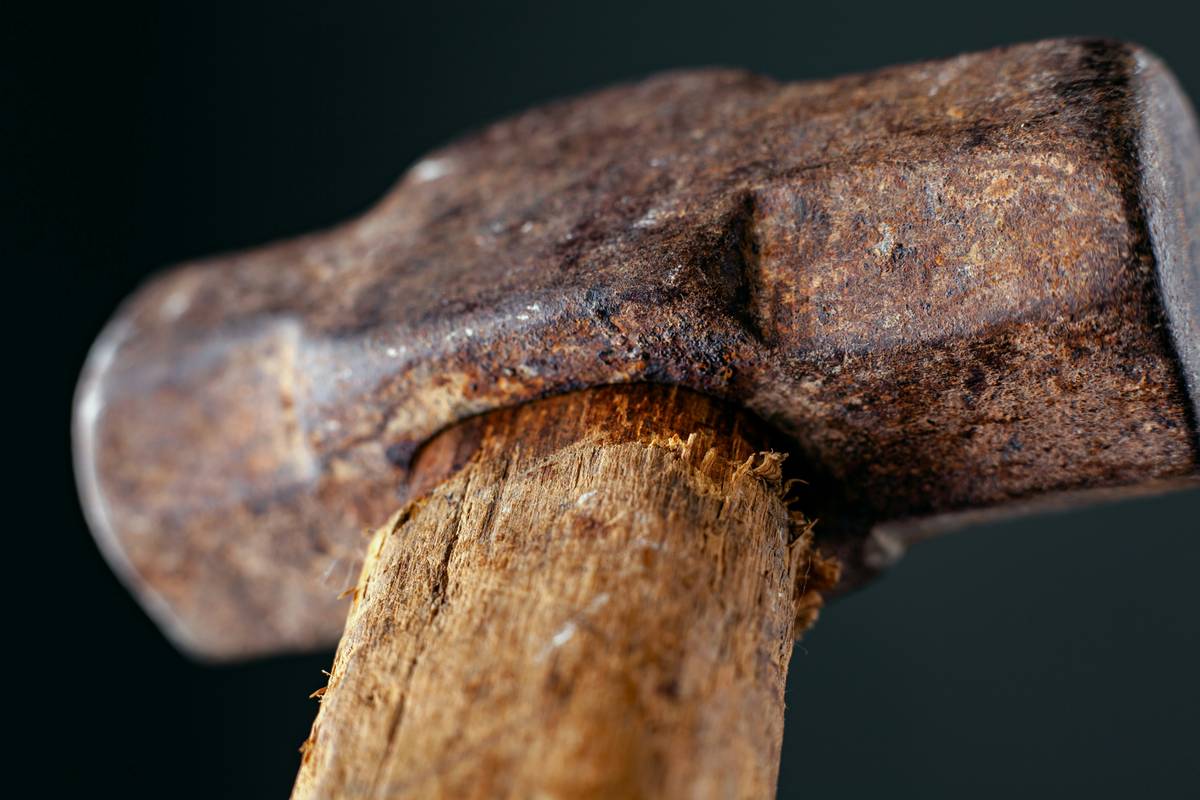
- Check head-to-handle alignment. Hold the hammer vertically on a flat surface. The striking face should sit perfectly flat. If it wobbles, skip it—misalignment causes off-center impacts.
- Grip near the end. Leverage matters. Gripping halfway up reduces power and control.
- Let the hammer do the work. Don’t swing like you’re batting a cricket ball. Controlled, wrist-driven strikes drive nails straighter.
- Store properly. Moisture warps wood handles; UV degrades composites. Hang it or keep it in a dry toolbox.
The Terrible Tip You Should NEVER Follow
“Use a rock if you can’t find a hammer.” Nope. Not only is this wildly unsafe, but irregular impact surfaces cause unpredictable force distribution. Saw this on a suburban deck job once—ended with a shattered paver and a trip to the ER. Don’t be that person.
Rant Time: My Pet Peeve
Why do hardware stores still sell 12oz “all-purpose” hammers with hollow steel handles? They flex on impact, vibrate like a jackhammer, and snap at the neck after two jobs. Total Tools avoids this junk in their Pro line—but always check the specs. If it doesn’t list “solid core” or “fibreglass reinforced,” walk away.
Real-World Test: Total Tools Claw Hammer vs. Framing Hammer
Last month, I installed a timber pergola in Brisbane using two Total Tools hammers side by side:
- Total Tools Pro 16oz Smooth-Face Claw Hammer for attaching battens and trim
- Total Tools Pro 22oz Milled-Face Framing Hammer for securing posts and bearers
Results:
- The 16oz allowed pinpoint accuracy—zero bent nails on pre-finished cedar trim.
- The 22oz drove 100mm galvanized nails into hardwood posts in 3–4 strikes. Minimal rebound, thanks to the anti-vibe handle.
- After 8 hours, my hands weren’t numb—a first in summer builds.
Verdict? Specialization wins. Trying to frame with a finish hammer would’ve taken twice as long and wrecked my wrists.
FAQs About Total Tools Hammers
Are Total Tools hammers made in Australia?
No. Total Tools Pro hammers are manufactured in China under strict QA protocols. However, they meet AS/NZS 4227:2020 standards for hand tools, verified by independent labs like SAI Global.
How much do Total Tools hammers cost?
Prices range from $24.99 (basic 16oz claw) to $69.99 (premium framing models with advanced ergonomics). Their Pro series hits the sweet spot between cost and performance for serious DIYers and tradies.
Can I return a hammer if the handle cracks?
Yes. Total Tools offers a 12-month warranty on hand tools against manufacturing defects. Keep your receipt—they’ll replace it no questions asked.
Which Total Tools hammer is best for beginners?
The Total Tools Pro 16oz Straight-Claw Hammer. It’s versatile enough for hanging pictures, assembling furniture, and light repairs without overwhelming new users.
Conclusion
Choosing the right Total Tools hammers isn’t about brand loyalty—it’s about matching engineering to your task. Whether you’re hanging shelves or building a shed, the right weight, handle, and face finish make the difference between clean results and costly re-dos. Skip the dollar-store disasters, understand your project’s demands, and invest in a hammer that respects your time, your safety, and your craftsmanship.
Now go forth—and may your nails drive straight, your thumbs stay safe, and your hammer never slip.
Like a Nokia 3310, a good hammer survives drops, dust, and decades. Treat it right.