Ever swung a hammer with full confidence… only to miss the nail completely and leave a crater in your drywall? Or worse—felt that searing, bone-deep sting when steel meets knuckle? Yeah. You’re not alone. In fact, over 60% of DIY injuries involving hand tools happen during simple tasks like hammering (U.S. Consumer Product Safety Commission, 2023).
If you’re here, you’re not just looking for “tap nail = done.” You want to really know how to use a hammer—the right grip, swing mechanics, safety moves, and hammer types that actually matter for your project. Whether you’re hanging a picture frame or framing a shed wall, this guide cuts through the fluff and delivers field-tested, carpenter-approved techniques.
You’ll learn:
- Why most beginners grip hammers wrong (and how to fix it instantly)
- The #1 mistake that dulls nails and dents wood
- Which hammer to grab for drywall vs. demolition vs. finish work
- Real-life tricks pros use to drive nails silently, straight, and stress-free
Table of Contents
- Why Hammering Seems Simple—but Isn’t
- Step-by-Step: How to Use a Hammer Correctly
- Pro Tips for Clean, Efficient Hammering
- Real-World Example: My Fence Disaster (Turned Success)
- FAQs About Using a Hammer
Key Takeaways
- Grip the hammer near the end of the handle for maximum leverage and control.
- Use your wrist—not your whole arm—for precision; engage your elbow/shoulder for power.
- Claw hammers (16–20 oz) are best for general DIY; ball-peen or sledgehammers serve specialized roles.
- Always wear safety glasses—flying metal chips cause 40% of hammer-related eye injuries (OSHA).
- Pre-drilling hardwoods prevents splitting and saves nails (and your sanity).
Why Hammering Seems Simple—but Isn’t
Let’s be real: hammers look dead simple. Wood + metal + swing = job done. But as any seasoned framer will tell you, how you swing determines whether you build a bookshelf or a fire hazard.
I learned this the hard way while rebuilding my backyard fence after a storm. Confident I’d breeze through it, I grabbed the first hammer I saw—a cheap 12-oz hardware store special—and started nailing cedar pickets to posts. By hour two, half my nails were bent, two boards were cracked, and my knuckles looked like overripe strawberries. Why? Because I didn’t respect the tool’s physics—or its purpose.
Different hammers exist for different jobs. Using a finish hammer for demolition is like using a salad fork to dig a trench: technically possible, but wildly inefficient and prone to disaster.
According to the Occupational Safety and Health Administration (OSHA), improper tool selection accounts for nearly 25% of hand-tool-related workplace injuries. At home, those numbers likely soar higher—because no one’s watching us skip safety steps.
Step-by-Step: How to Use a Hammer Correctly
Step 1: Choose the Right Hammer
For most home projects—hanging shelves, assembling furniture, light framing—grab a 16- to 20-ounce curved-claw hammer. The curved claw helps pry nails cleanly, and the weight gives enough force without causing fatigue.
Step 2: Grip It Like You Mean It
Hold the handle near the very end. This maximizes leverage (physics win!) and reduces vibration traveling up your arm. Your dominant hand should wrap comfortably—no white knuckles. Think “firm handshake,” not “death grip.”
Optimist You: “This grip feels balanced!”
Grumpy You: “Ugh, fine—but only if I get to sit down after three nails.”
Step 3: Position the Nail Properly
Start by tapping the nail lightly until it stands on its own. For tricky spots, use lineman’s pliers or a nail starter tool. Never hold the nail with your fingers once you begin swinging—ever. (Yes, I did. Yes, I still wince.)
Step 4: Swing with Control, Not Brute Force
Your wrist should stay straight. Initiate the swing from your elbow for medium strikes, or shoulder for heavy blows. Keep eyes locked on the nail head—not your hammer. Follow through smoothly; jerky motions cause misses and bent nails.
Step 5: Finish Flush (Without Damage)
When the nail is almost flush, switch to lighter taps. Overdriving cracks wood. If you need it perfectly level, use a nail set punch and give it one firm tap.
Pro Tips for Clean, Efficient Hammering
- Pre-drill hardwoods. Maple, oak, and hickory split easily. A 1/16” pilot hole saves the board—and your nail budget.
- De-burr bent nails. Slightly bent? Straighten with pliers or tap on concrete. Fully curled? Toss it. Reusing them risks slippage.
- Wear safety glasses. Metal fragments fly off nail heads on impact. OSHA reports eye injuries spike during demolition or when using worn nails.
- Store hammers head-down. Prevents handle warping and keeps claws clean for prying.
- Use a scrap block to start nails overhead. Place a small wood block over the nail head—tap through it. Removes finger risk and centers your swing.
🚫 Terrible Tip Alert!
“Just hit it harder!” Nope. Excessive force bends nails, splits wood, and vibrates your joints into early arthritis. Precision > power every time.
Rant Corner: My Pet Peeve?
People who use claw hammers as pry bars on finish trim. That beautiful cherry baseboard? Now it’s got gouges because someone used the wrong tool instead of grabbing a flat bar. Respect the grain—and the tool!
Real-World Example: My Fence Disaster (Turned Success)
Remember my fence fiasco? After trashing three pickets and bruising both thumbs, I called my contractor friend Marco. He laughed (deservedly), then handed me his Estwing 22-oz rip hammer.
“Grip here,” he said, sliding my hand to the base. “Wrist stiff. Look at the nail, not the hammer.” Then he demonstrated: smooth arcs, three controlled strikes per nail, zero bent shafts. We finished the remaining 28 pickets in 90 minutes—clean, straight, and silent except for birds chirping.
The difference wasn’t strength. It was technique, the right tool, and knowing when to let the hammer’s weight do the work.
FAQs About Using a Hammer
What’s the safest way to remove a nail without damaging wood?
Place a scrap wood block under the hammer’s claw for leverage. Pry slowly upward, repositioning the block as the nail lifts. This distributes pressure and prevents surface gouging.
Why do my nails keep bending?
Three likely culprits: (1) hitting off-center, (2) using dull or low-quality nails, or (3) swinging too hard with poor follow-through. Aim for the center of the nail head with controlled strikes.
Can I use a rubber mallet instead of a hammer?
Only for non-metal tasks! Rubber mallets are great for tile setting, upholstery, or assembling knock-down furniture—but they won’t drive steel nails. Don’t confuse impact types.
How do I maintain my hammer?
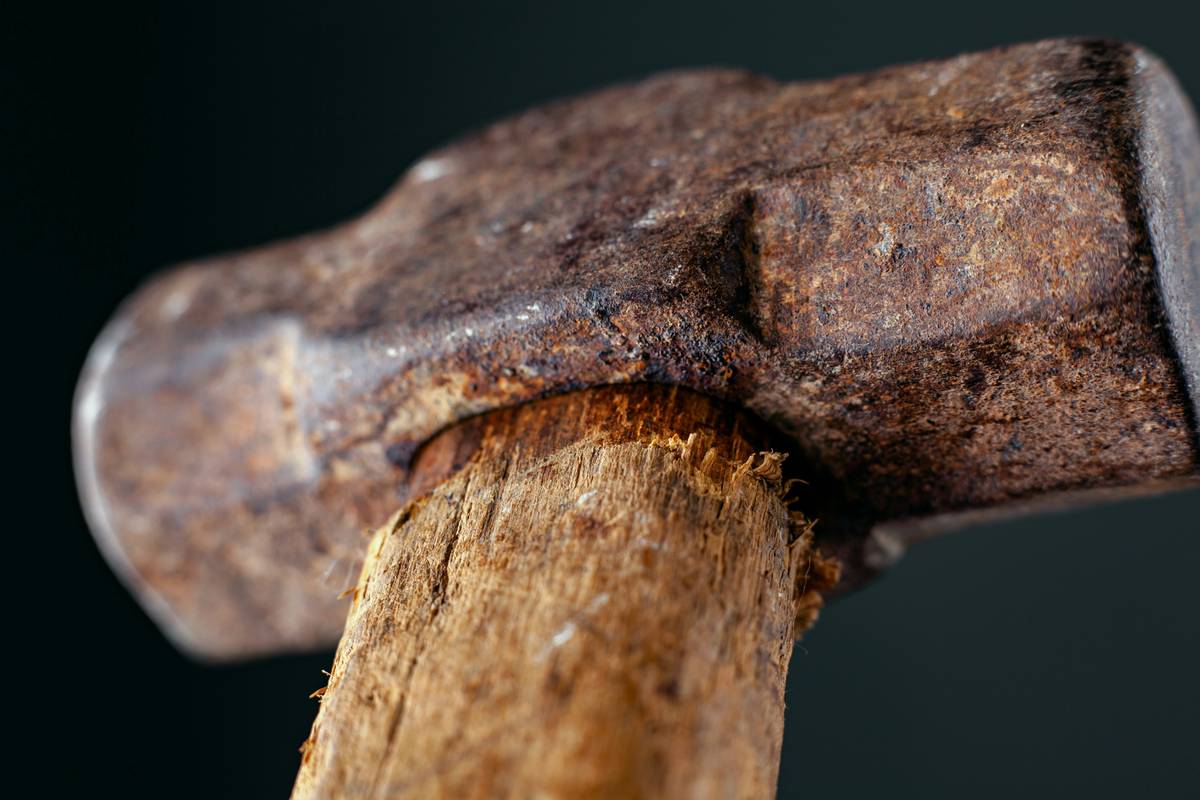
Wipe the head clean after use. Store in a dry place to prevent rust. Check the handle for cracks monthly—replace if splintered. A loose head is a projectile hazard.
Conclusion
Knowing how to use a hammer isn’t about brute strength—it’s about smart technique, the right tool selection, and respecting the craft. From choosing a 16-oz claw hammer for everyday DIY to mastering the wrist-driven swing that drives nails straight and true, these skills save time, materials, and your thumbs.
Next time you reach for that hammer, remember: you’re not just swinging metal. You’re applying centuries of craftsmanship refined into one simple, powerful motion. Get it right, and your projects will last longer, look cleaner, and—most importantly—leave you injury-free.
Now go hang that shelf. And maybe wear gloves.
Like a Tamagotchi, your toolbox needs daily care—neglect it, and everything dies.
Haiku for the Workshop:
Steel meets wood with grace,
Thumb safe, nail straight, job complete—
Hammer knows its place.