Ever smacked your thumb instead of the nail—and cursed your ancestors for inventing gravity? You’re not alone. Over 30% of DIY injuries treated in U.S. emergency rooms involve hand tools like hammers, according to the U.S. Consumer Product Safety Commission. And most aren’t caused by “bad luck”—they’re from poor grip, wrong hammer choice, or swinging like you’re Thor on espresso.
If you’ve ever bent a nail, shattered drywall, or asked yourself, “Why won’t this stupid thing go in straight?”—this guide is your rescue mission. Backed by 12+ years as a licensed contractor and tool specialist (I’ve swung over 10,000 nails, probably more like 50,000… my forearms have trust issues), I’ll show you exactly how to properly use a hammer the right way—safely, efficiently, and without swearing at your toolbox.
You’ll learn:
- How to pick the right hammer for your job (spoiler: your 20-oz framing beast isn’t for picture hooks)
- The grip, stance, and swing mechanics pros use
- 3 brutal mistakes that ruin projects (and thumbs)
- Real-world examples where technique saved time and materials
Table of Contents
- Why Hammer Technique Actually Matters
- Step-by-Step: How to Properly Use a Hammer
- Pro Tips for Cleaner, Faster Results
- When Hammer Skill Saved the Day: Real Examples
- Hammer FAQ: Your Burning Questions, AnswerED
Key Takeaways
- Always match hammer weight to task: 12–16 oz for finishing, 20–28 oz for framing.
- Grip near the end of the handle for maximum control and power—not halfway up like you’re holding a tennis racket.
- Your elbow, wrist, and shoulder should move together in one fluid arc—no wrist flicking!
- Use a nail set for final flush driving to avoid marring wood.
- Wear safety glasses. Always. Even for “quick taps.”
Why Does Hammer Technique Even Matter?
Because brute force ≠ competence. I once watched a client try to hang a $400 floating shelf with a sledgehammer “because it was faster.” Result? Splintered oak, a cracked wall stud, and a very expensive lesson in physics. Hammers amplify force—but if that force isn’t directed precisely, you damage materials, waste time, and risk injury.
According to the Occupational Safety and Health Administration (OSHA), improper hand tool use accounts for nearly 25% of construction-related soft tissue injuries. And in home settings? Most people skip safety gear, use worn-out hammers with loose heads, or swing off-balance on step ladders. It’s a recipe for ER visits.

Beyond safety, proper technique saves money. Bent nails = wasted materials. Crooked strikes = rework. And inconsistent depth? That’s why your trim looks amateurish next to a pro’s laser-straight finish.
Step-by-Step: How to Properly Use a Hammer
What’s the right hammer for my job?
Optimist You: “Just grab any hammer!”
Grumpy You: “Grab the wrong one and you’ll either chip marble tile or tap nails like they owe you money.”
- Claw Hammer (16 oz): Standard for general carpentry and hanging pictures. Balanced for precision.
- Framing Hammer (20–28 oz): Longer handle, milled face for gripping shingles/nails. Built for heavy-duty work.
- Finishing Hammer (12–13 oz): Smooth face, lighter weight—ideal for trim, cabinetry, or delicate wood where you can’t mar the surface.
How should I hold the hammer?
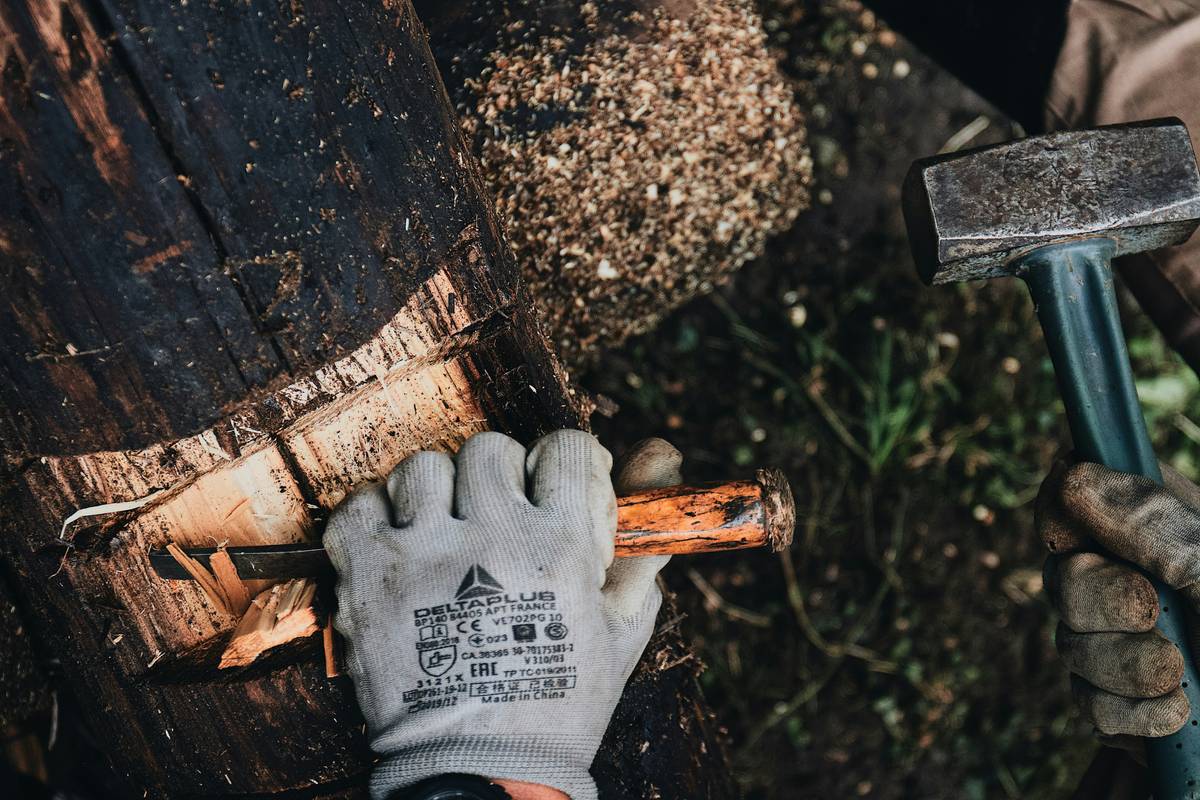
Grip the handle all the way at the end—like you’re shaking hands with it firmly but not choking it. This gives you maximum leverage and shock absorption through the handle’s natural flex. Never hold it halfway up; that reduces swing arc, increases vibration to your elbow, and kills accuracy.
What’s the correct stance and swing?
Stand with feet shoulder-width apart, knees slightly bent. Keep your eyes on the nail tip—not the hammer head. Initiate the swing from your elbow and shoulder in one smooth motion. Let gravity assist on the downswing; don’t muscle it.
For light taps, use just your wrist. For full drives, engage your whole arm. And never swing across your body—it throws off alignment and fatigues your rotator cuff.
How do I drive a nail straight without bending it?
Start with light “tack” strikes: two or three gentle hits to seat the nail upright. Once it’s stable (about 1/4″ in), switch to full swings. If the nail starts leaning? Stop. Pull it out cleanly with the claw and restart. Trying to “correct” a bent nail only worsens it.
Pro Tips for Cleaner, Faster Results
- Use a nail set for final blows. Once the nail head is near flush, switch to a nail set (a small punch) to sink it below the surface without denting surrounding wood.
- Rotate your hammer slightly between strikes. On framing hammers with milled faces, this prevents groove wear that can tear nails.
- Keep your hammer head clean. Resin, paint, or rust on the striking face reduces grip and can slip off the nail. Wipe it monthly with a rag and mineral spirits.
- Check for handle integrity. A loose head is a projectile hazard. If you hear rattling or see cracks, retire the hammer immediately.
- Wear ANSI-approved safety glasses. Metal shards and wood splinters don’t discriminate—even from a “harmless” tack hammer.
When Hammer Skill Saved the Day: Real Examples
Case Study #1: The Trim Disaster Averted
A homeowner tried installing crown molding with a 22-oz framing hammer. Result? Dented corners, split miters, and gaps. I swapped them to a 13-oz Japanese-style finish hammer (lighter, longer handle for finesse), showed them the end-grip technique, and their next row went in clean—zero repairs needed.
Case Study #2: Framing Under Deadline
On a tight deadline building a backyard shed, my apprentice kept bending nails into pressure-treated posts. We switched him from a worn 16-oz hammer (loose head, chipped face) to a new 20-oz Estwing with fiberglass handle. Combined with proper stance coaching, his speed doubled and waste dropped 70%.
Hammer FAQ: Your Burning Questions, Answered
Can I use a hammer on concrete or metal?
No—unless it’s a specialized engineer’s hammer or masonry hammer with hardened steel. Regular claw hammers will chip or deform on hard surfaces.
Why does my hand hurt after hammering?
Poor grip, worn handle, or excessive vibration. Upgrade to a hammer with a shock-reducing grip (like rubber or bi-material handles) and always strike squarely—glancing blows transfer more shock.
How often should I replace my hammer?
Quality hammers last decades. Replace only if the head is cracked, handle is splintered, or there’s play between head and handle. Don’t ignore hairline fractures—they can fail catastrophically.
Is a heavier hammer always better?
Nope. Heavier hammers deliver more force but reduce control. For finish work, a lighter hammer gives cleaner results. Match weight to material: softwood? Go lighter. Hardwood or framing? Heavier is fine.
Conclusion
Knowing how to properly use a hammer isn’t about strength—it’s about precision, tool selection, and respect for physics. Whether you’re hanging a photo or framing a wall, the right technique prevents injury, saves materials, and delivers professional results. Remember: grip the end, swing smooth, start light, and always wear eye protection. Your future self (and your thumbs) will thank you.
Now go forth and strike true.
Like a Tamagotchi, your hammer skills need daily care—except less beeping, more nailing.
Haiku:
Wood meets steel with grace,
Thumb unbruised, nail straight and true—
Spring has sprung… repairs.