Ever smacked your thumb instead of the nail—and spent the next 20 minutes hopping around like you stepped on a Lego? Yeah. You’re not alone. In fact, the U.S. Consumer Product Safety Commission reports over 50,000 hammer-related injuries annually—most caused by improper technique, not faulty tools.
If you’ve ever wondered why your nails bend, your wood cracks, or your wrist aches after five swings, this guide is for you. I’ve spent 12+ years as a carpenter-turned-tool-educator (yep, I once drove 37 finish nails with one hand while holding a flashlight in my teeth during a midnight kitchen reno). In this post, you’ll learn:
- Why grip and stance matter more than hammer weight
- The #1 mistake that bends nails (and how to fix it)
- How to choose the right hammer for framing vs. trim work
- Real-world tricks from pro builders to swing smarter, not harder
Table of Contents
- Why Hammer Technique Actually Matters
- Step-by-Step: How to Swing a Hammer Like a Pro
- 7 Best Practices Nobody Tells Beginners
- Case Study: From Bent Nails to Perfect Flush Drives
- Frequently Asked Questions About Hammers
Key Takeaways
- Hold the hammer near the end of the handle for maximum leverage and control.
- Use your wrist—not your whole arm—for precision tasks; engage your shoulder for heavy framing.
- Always strike parallel to the nail shank to prevent bending.
- Claw hammers ≠ sledgehammers—using the wrong type damages materials and risks injury.
- Wear safety glasses. Seriously. Flying nail shards are no joke.
Why Hammer Technique Actually Matters
Let’s be real: most DIYers treat a hammer like a blunt-force exclamation point—”WHAM! FIX IT!” But here’s the truth—how you swing determines whether you’re building solid joinery or just making expensive firewood.
I remember my first framing job in Portland. Raining sideways, boots sinking in mud, and I kept snapping 16d nails clean in half. My foreman, Gus (a guy who’d built 200+ homes), watched me flail for ten minutes before barking: “Son, you’re fighting the tool. The hammer wants to fall. Let it.”
He was right. Physics favors efficiency. A properly swung hammer uses gravity, inertia, and wrist snap—not brute upper-arm strength—to drive nails cleanly and reduce fatigue. Poor form leads to:
- Bent or mushroomed nails
- Splintered wood grain
- Repetitive strain injuries (carpenters’ wrist is real)
- Dangerous ricochets
Step-by-Step: How to Swing a Hammer Like a Pro
Step 1: Choose the Right Hammer for the Job
Not all hammers are created equal. Using a 20 oz framing hammer to hang picture wire? Overkill. Tapping delicate molding with a rubber mallet? Good luck getting that nail started.
- Framing hammer (16–28 oz): For structural nailing. Textured face reduces slippage.
- Finish hammer (10–16 oz): Smooth face prevents marring trim. Use for cabinetry or baseboards.
- Ball-peen hammer: Metalworking only—never use on wood nails!
Step 2: Grip It Like You Mean It (But Not Too Tight)
Slide your hand all the way to the end of the handle. This maximizes leverage and control. Your grip should be firm enough to guide the swing—but relaxed enough to absorb shock. White-knuckling = faster fatigue + shaky aim.
Optimist You: “A loose grip gives me fluid motion!”
Grumpy You: “Fine. But if I drop this $30 Estwing on my foot, I’m blaming you.”
Step 3: Nail Placement & Starting the Nail
For small nails (<2″), hold near the head with needle-nose pliers or use a nail starter tool. For larger nails, tap gently 2–3 times until it stands upright. If the nail leans, pull it and restart—forcing it causes splits.
Step 4: The Swing—Wrist, Elbow, or Shoulder?
Depends on the nail depth:
- Light taps (trim/finish): Pivot at the wrist. Keep elbow stable.
- Moderate driving (drywall, shelving): Use elbow + slight wrist flick.
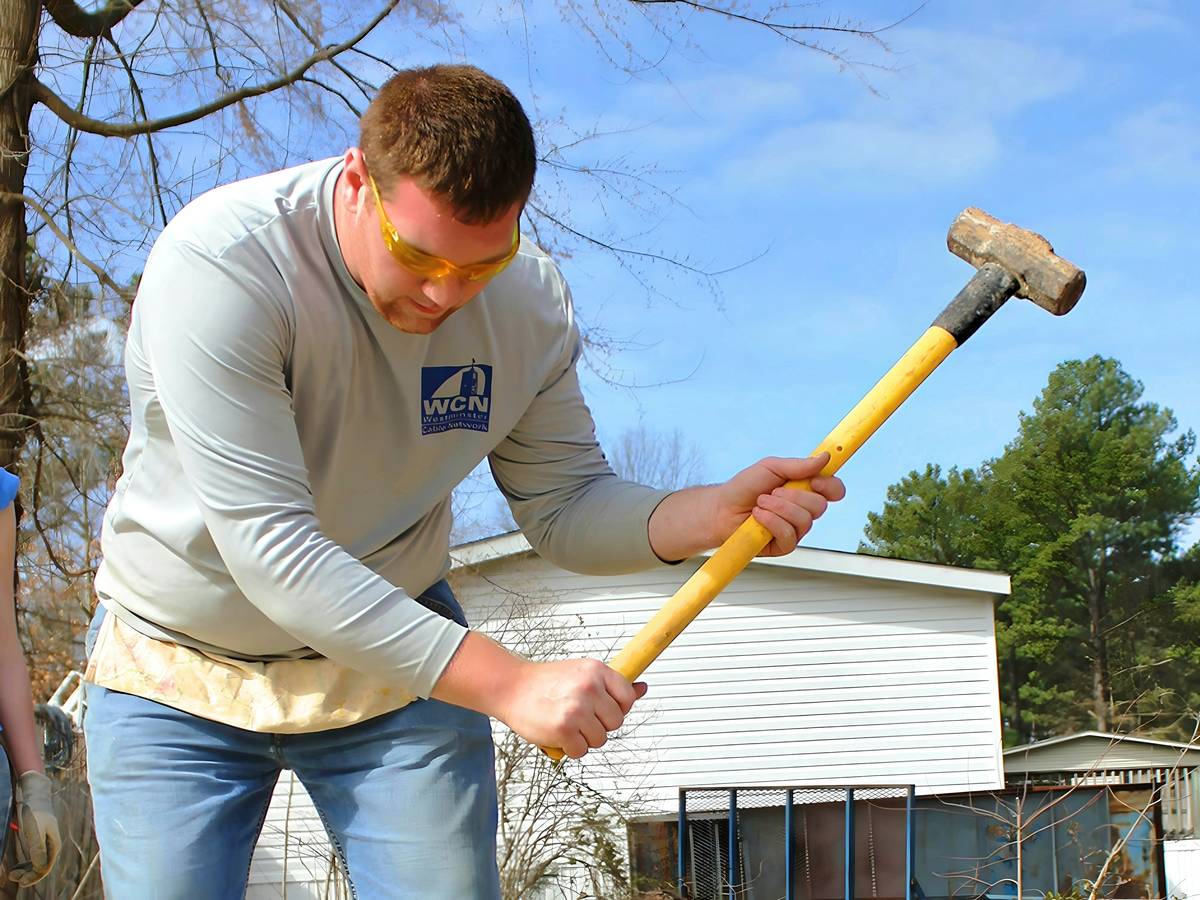
- Full force (framing): Engage shoulder—let the hammer’s weight do the work. Think pendulum, not punch.
Step 5: Set the Nail Flush (Without Dents)
Nail set within 1/16” of surface? Switch to a nail set punch and light hammer taps. Never slam a finish nail flush with the hammer face—you’ll leave a crater.
7 Best Practices Nobody Tells Beginners
- Always wear ANSI-approved safety glasses. Nail heads can fragment on impact—OSHA mandates eye protection for good reason.
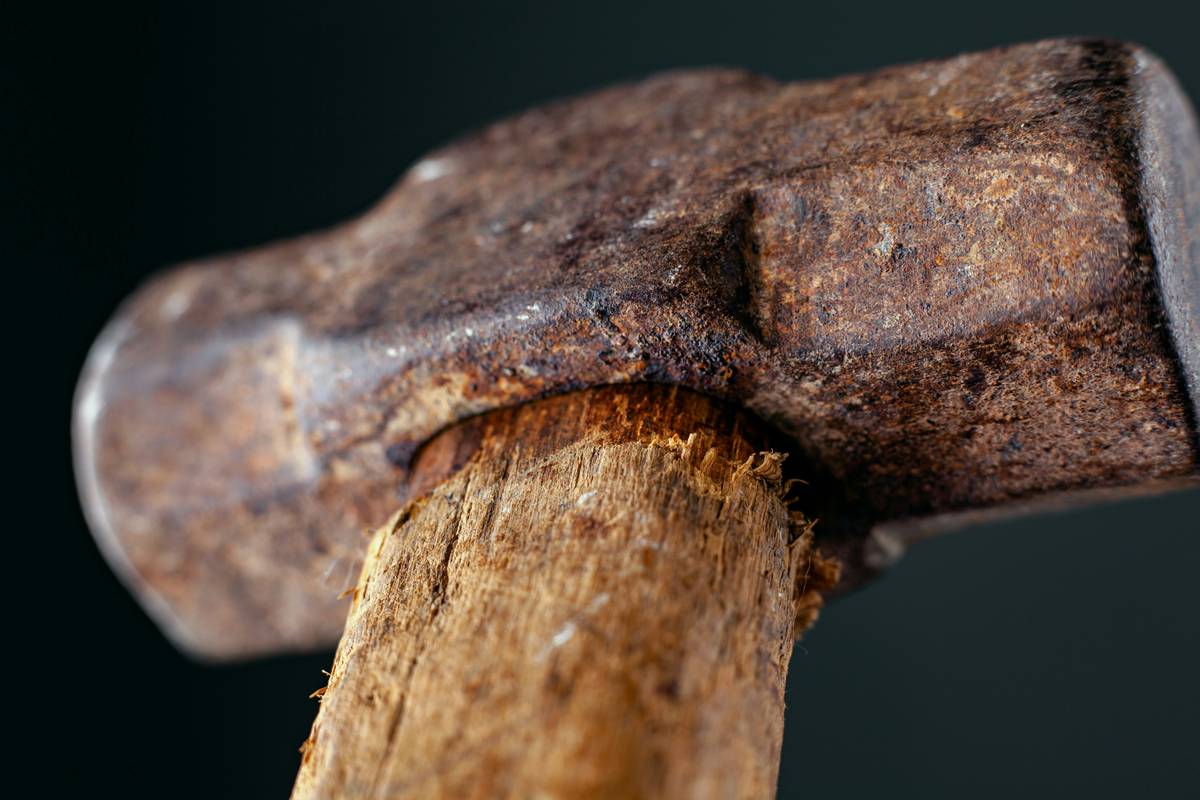
- Check your hammer for damage. Cracks in fiberglass handles or mushroomed striking faces = replace immediately.
- Strike perpendicular to the nail. Angled hits cause bending. Use a speed square as a visual guide if needed.
- Pre-drill hardwoods. Oak, maple, and exotic woods split easily—bore a pilot hole at ⅔ nail diameter.
- Store hammers horizontally. Vertical storage wears out claws and risks handle warping.
- Rotate your hammer monthly. Even distribution of impacts prevents face deformation.
- Keep a magnetized nail holder. Saves countless dropped nails and sore backs.
⚠️ Terrible Tip to Avoid
“Just hit it harder!” Nope. Excessive force doesn’t fix poor alignment—it guarantees bent nails, crushed wood fibers, and maybe a trip to urgent care. Precision beats power every time.
Rant Time: My Hammer Pet Peeve
Why do hardware stores sell “general purpose” hammers with smooth faces AND aggressive waffle textures on the same model?! Pick a lane! Smooth for finish work, textured for framing—hybrid faces ruin both. It’s like selling a chef’s knife with a serrated butter edge. Make sense? Didn’t think so.
Case Study: From Bent Nails to Perfect Flush Drives
Last summer, a client (let’s call her Maya) tried installing cedar fence pickets herself. She used a 22 oz framing hammer meant for 2x4s—and ended up with 60% bent nails, cracked boards, and a wrist brace.
We swapped her tool for a 16 oz straight-claw finish hammer with a smooth face. Taught her the wrist-snap technique. Result? She drove 120 nails in under 90 minutes—zero bends, minimal splitting, and no pain. Her secret? Letting the hammer fall naturally instead of muscling each swing.
Frequently Asked Questions About Hammers
Why does my nail bend when I hammer it?
Most often due to striking at an angle, hitting too hard on the initial tap, or using undersized nails for dense wood. Always ensure your swing path is parallel to the nail shaft.
What’s the difference between a claw hammer and a framing hammer?
All framing hammers are claw hammers, but not vice versa. Framing hammers have longer handles (16″+), heavier heads (20–28 oz), and milled (textured) faces for gripping galvanized nails. Finish hammers have smooth faces and straight claws for prying without marring wood.
Can I use a rubber mallet to drive regular nails?
No. Rubber mallets lack the concentrated force needed to overcome nail friction in wood. They’re designed for assembling joints, tapping tiles, or shaping metal—not driving steel shanks.
How tight should I grip a hammer?
Like holding a bird: firm enough it won’t fly away, gentle enough you don’t crush it. A death grip fatigues muscles and dampens feedback from the tool.
Conclusion
Using a hammer correctly isn’t about strength—it’s about rhythm, alignment, and respect for the tool. Whether you’re hanging a shelf or framing a wall, these techniques will save your thumbs, your materials, and your sanity. Remember: let the hammer’s weight work with you, not against you. And for Pete’s sake—wear those safety glasses.
Like a 2004 flip phone, your hammer only works if you know how to swing it right.
Steel head sings,
Wood yields without a cry—
Thumb safe. Nailed it.