You swing. The nail bends. Wood cracks. Frustration builds. Most people treat a hammer like a caveman—just smash until something happens. But that’s not using a hammer; that’s abusing it. The proper use of a hammer isn’t about brute force—it’s about precision, control, and understanding physics you never learned in shop class.
Why “Just Hit It Harder” Is a Terrible Strategy
Too many homeowners equate hammering with aggression. They grip near the head for “more control,” swing from the elbow like they’re chopping wood, and wonder why their project looks like a crime scene. Here’s the reality: poor technique wastes energy, damages materials, and increases injury risk.
And it’s not just amateurs. Even seasoned handymen develop bad habits—like using the wrong hammer face or ignoring grain direction. The math is simple: inefficient strikes = more time, more errors, more trips to the hardware store.
The Step-by-Step Guide to Proper Use of a Hammer
Forget what you’ve seen on weekend renovation shows. Real craftsmanship starts with posture, grip, and rhythm—not speed.
Grip Like a Pro (Not a Wrestler)
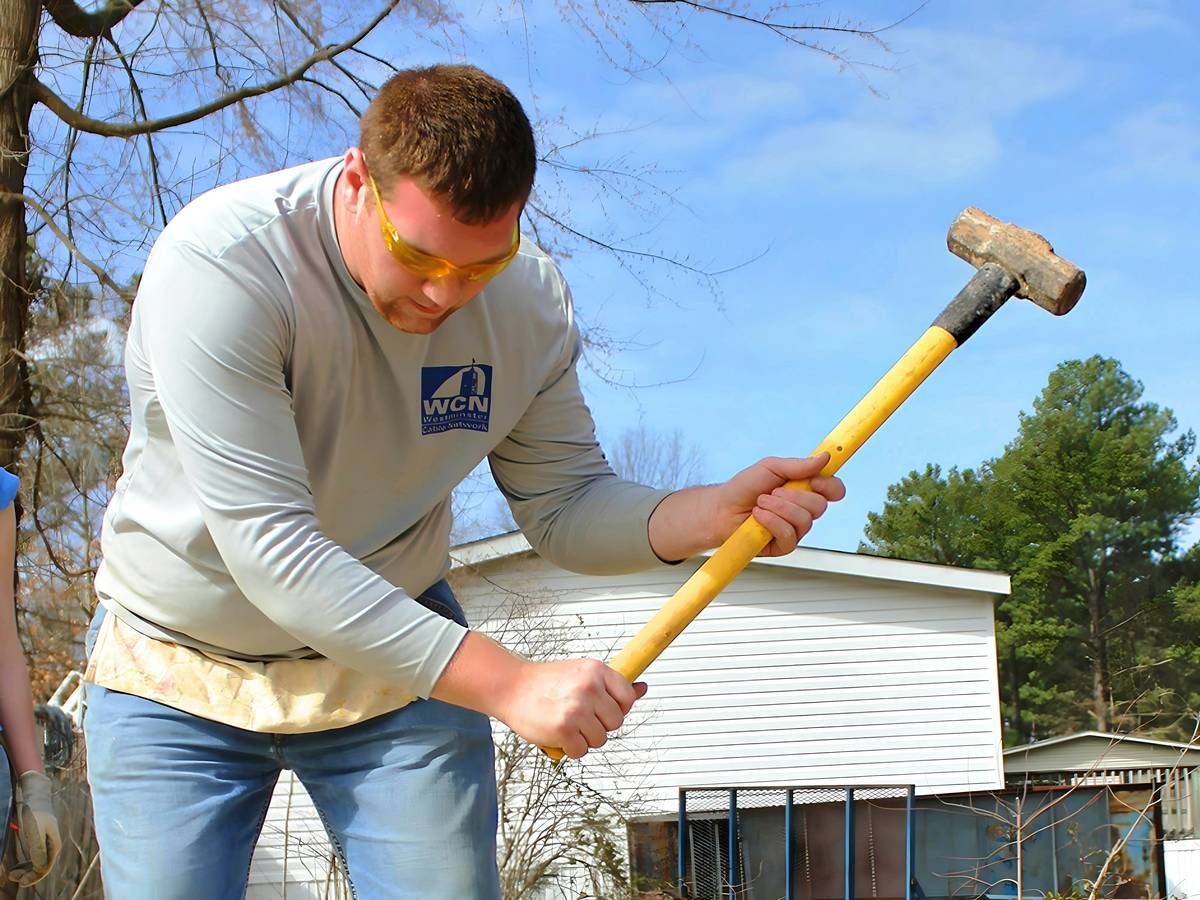
Your dominant hand belongs at the very end of the handle. Not halfway. Not two inches up. All the way back. This maximizes leverage and minimizes wrist strain. Wrap your fingers loosely—tension kills accuracy. Think about it: a relaxed grip absorbs vibration; a death grip transmits shock straight to your joints.
Aim with Your Eyes, Not Just Your Arm
Before you swing, lock your eyes on the nail tip—not the hammer head. Your brain coordinates movement better when focused on the target. Keep your non-dominant hand clear after starting the nail. One slip and you’re meeting your thumb in the ER.
Use Short, Controlled Strokes—Then Follow Through
Start with light taps to seat the nail. Once it’s upright, switch to full swings—but only from the shoulder, not the wrist. Let momentum do the work. And yes, follow through past the nail head. Stopping mid-swing robs power and causes glancing blows.
| Technique | Efficiency Rating | Common Mistake | Pro Tip |
|---|---|---|---|
| Gripping near hammer head | Low | Loss of leverage, hand fatigue | Always choke up only for fine adjustments—not driving |
| Swinging from wrist | Very Low | Inconsistent strikes, bent nails | Initiate motion from shoulder; wrist stays neutral |
| Full-handle grip + shoulder swing | High | Over-swinging into wood | Let hammer weight do work—don’t muscle it |
The Industry Secret: Hammers Have Two Faces—Use Both
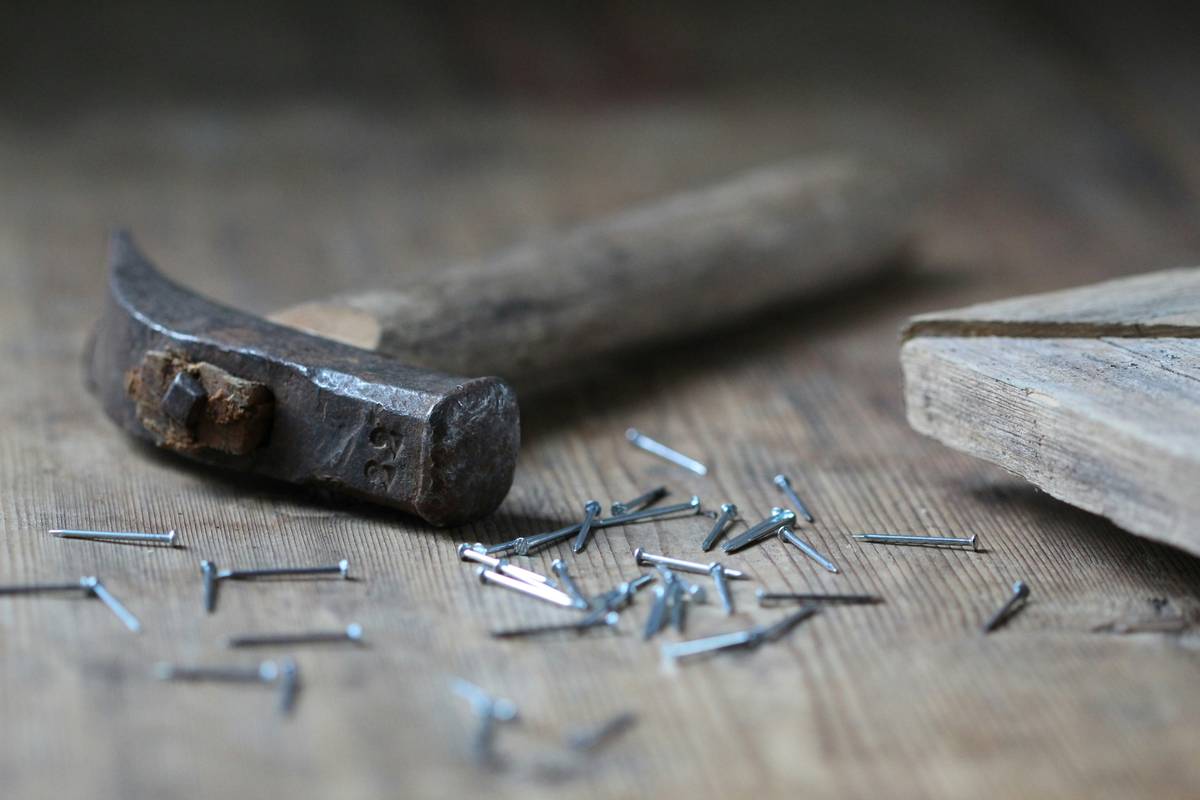
Most folks only use the flat striking face. But that curved claw? It’s not just for ripping boards apart. Smart carpenters use the side of the claw as a pivot point when starting hard-to-place nails in tight corners. Rest the claw against a stable surface, tilt the hammer slightly, and tap—the nail stays straight without finger gymnastics.
Here’s the kicker: many modern hammers have a textured or milled face deliberately designed to grip nail heads. Yet people sand them smooth thinking it’s “worn out.” Wrong. That texture prevents slippage. Polishing it? You’re sabotaging your own accuracy.
Frequently Asked Questions
What’s the most common hammering mistake?
Gripping too high on the handle. It kills leverage and forces you to swing harder than needed—fatiguing your arm and risking misses.
Should I hit a nail in one swing?
No. Start with two to three light taps to set it upright. Rushing leads to bent nails and split wood—especially in hardwoods or near edges.
Can using the wrong hammer damage my project?
Absolutely. A framing hammer on finish trim will leave dents. A tack hammer won’t drive deck screws. Match the tool to the task—weight matters.